


 Introduction
This chapter demonstrates the installation process of WordPress and its requirements. Undoubtedly, WordPress is the world's most prominent CMS and the script is in its roots to a greater extent. This chapter covers the following concepts:
- Requirements to run WordPress
- Installing XAMPP and WordPress locally
Description
The procedure of introducing WordPress on PC is called as setting up a server environment or localhost. Usually, topic originators and module designers introduce WordPress on a neighborhood server environment to accelerate their improvement process. A normal client can utilize the nearby server environment to test modules and/or roll out improvements to the site before making it live for audience. This chapter illustrates how to introduce WordPress on your Windows PC utilizing XAMPP. Following are the main requirements for running WordPress on Windows.
- Operating System Cross-platform
- Database MySQL 5.6 or greater PHP 5.6 or greater
- Web Server WAMP LAMP XAMPP MAMP
- Supported Browsers Chrome Firefox Google Internet explorer (IE 8+) Safari Opera
Description
XAMPP is a prominent web server utilized as a part of PHP advanced environment. Using XAMPP is not much difficult and Apache distribution containing PHP, MariaDB can be installed easily.
In order to install the XAMPP, download the PC software from Apache friends website.
Now, click the download button XAMPP for Windows, PHP version 5.6.19 as shown in the image below. After downloading, run the XAMPP installer with the default setting.
 Follow the below steps for downloading and installing XAMPP on windows.
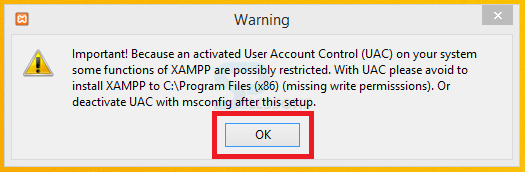
Step 1
Run the XAMPP installer application, the image below shows the error that occurs while running the applications. Click OK to install.
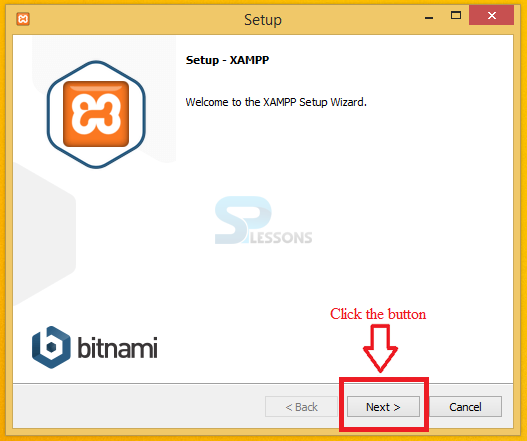
Step 2
By clicking OK, a Setup wizard window appears as shown in the image below. Click the Next button.
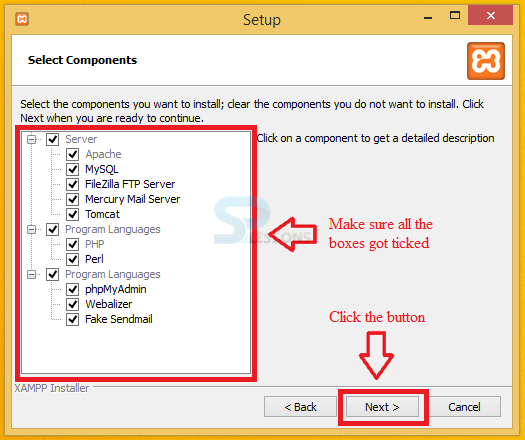
Step 3
On clicking the Next button, a Select Components window appears. Select all the components and proceed by clicking the Next button as shown in the image below.
Step 4
Now, a Installation folder window appears. Select the preferred folder for installing the XAMPP and proceed by clicking the Next button as shown in the image below.

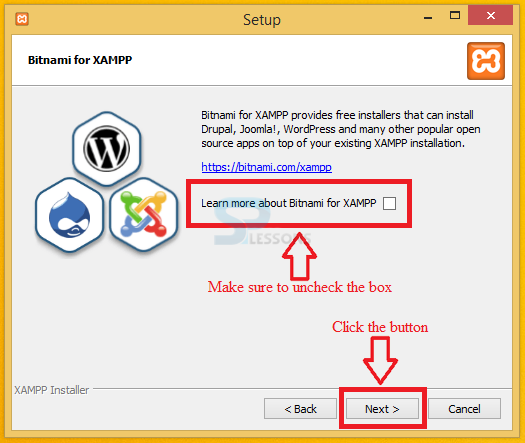
Step 5
Now, a Bitnami for XAMPP window appears. Uncheck the check box in the window and proceed by clicking the Next button as shown in the image below.
Step 6
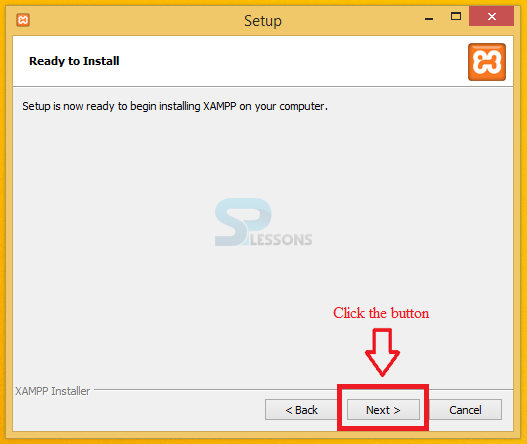
By clicking next, a Ready to Install window appears. Click the Next button as shown in the image below.
Step 7
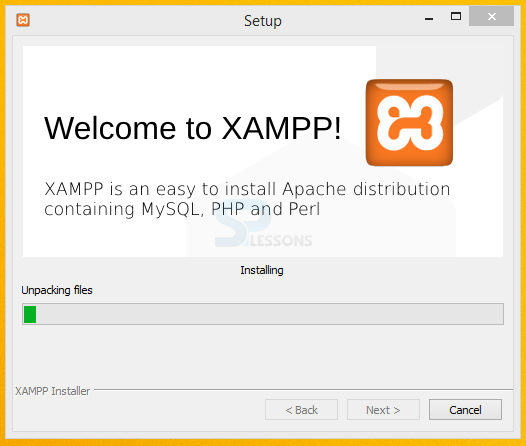
Now, a window appears installing the XAMPP as shown in the image below.
Step 8
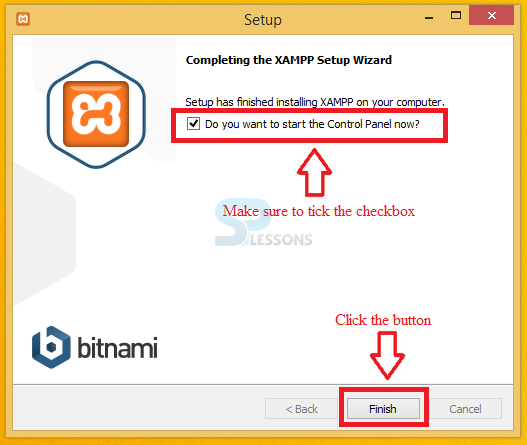
After completing the installation part, a Completing the XAMPP Setup window appears. Select the check box and proceed by clicking the Finish button.
Step 9
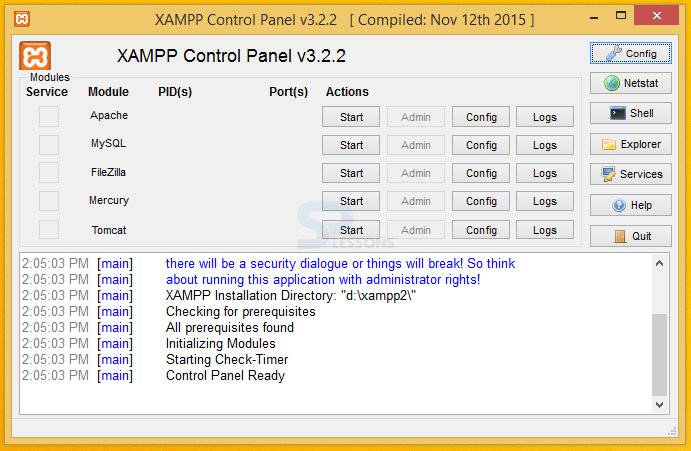
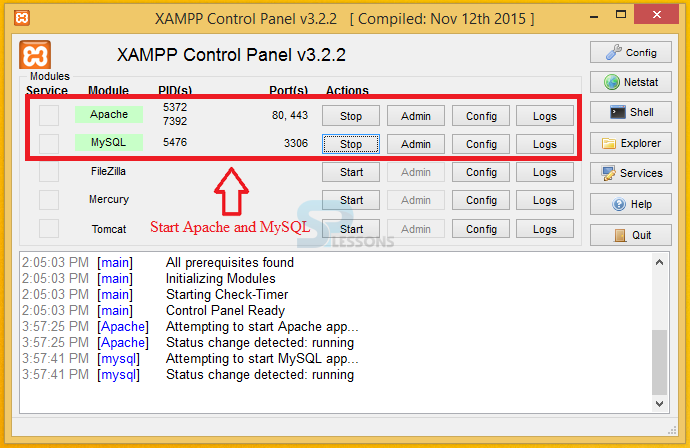
Finally after completing the above process, the XAMPP control panel gets displayed as shown in the image below.
Step 10
Click start for both Apache and MySQL, where Apache is a web server and MySQL is a data base.
Description
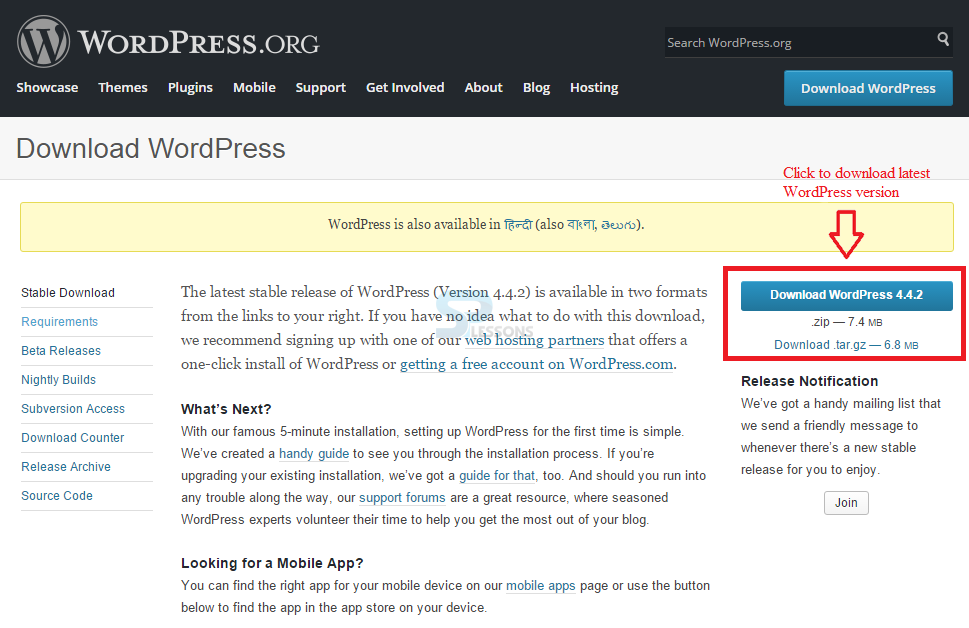
To install word press, download the WordPress zip file from the official WordPress website.
Click the download button on the page to download the latest version of WordPress as shown in the below image.
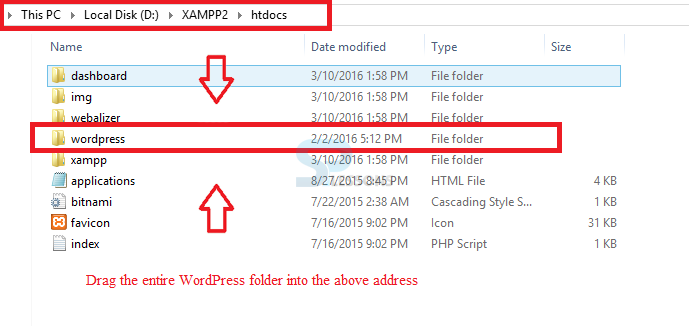
 Extract the WordPress zip file in the preferred folder and drag the entire WordPress folder into the XAMPP -> htdocs folder as shown in the below image.
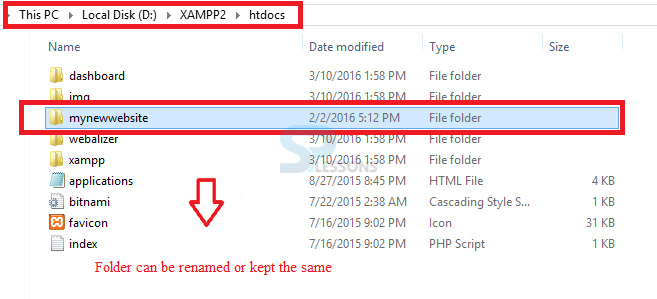
 User can rename the folder if required as shown in the below sample image.
Description
To setup the configuration for WordPress, first create a database. The following steps explain the procedure for creating a database.
Step 1
Open the browser and type localhost to get the XAMPP control board. Click phpMyAdmin option on the page available at the top of the page as shown in the image below.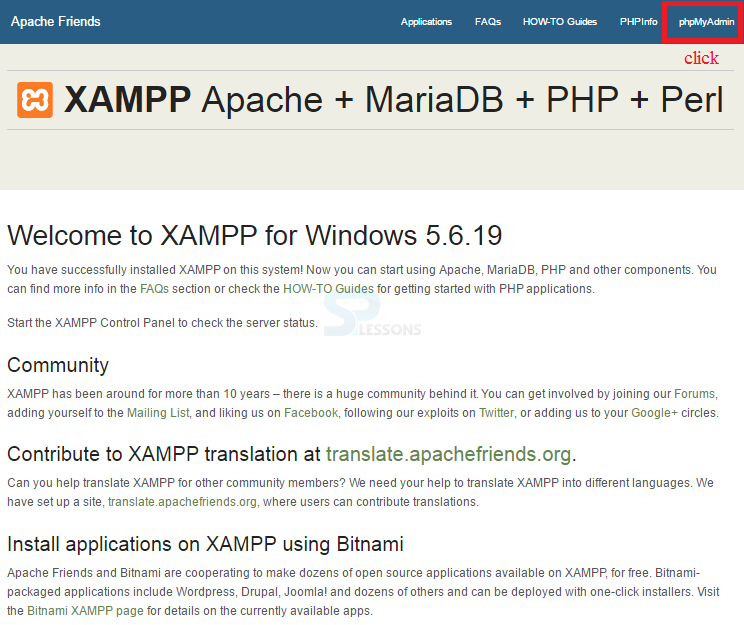
Step 2
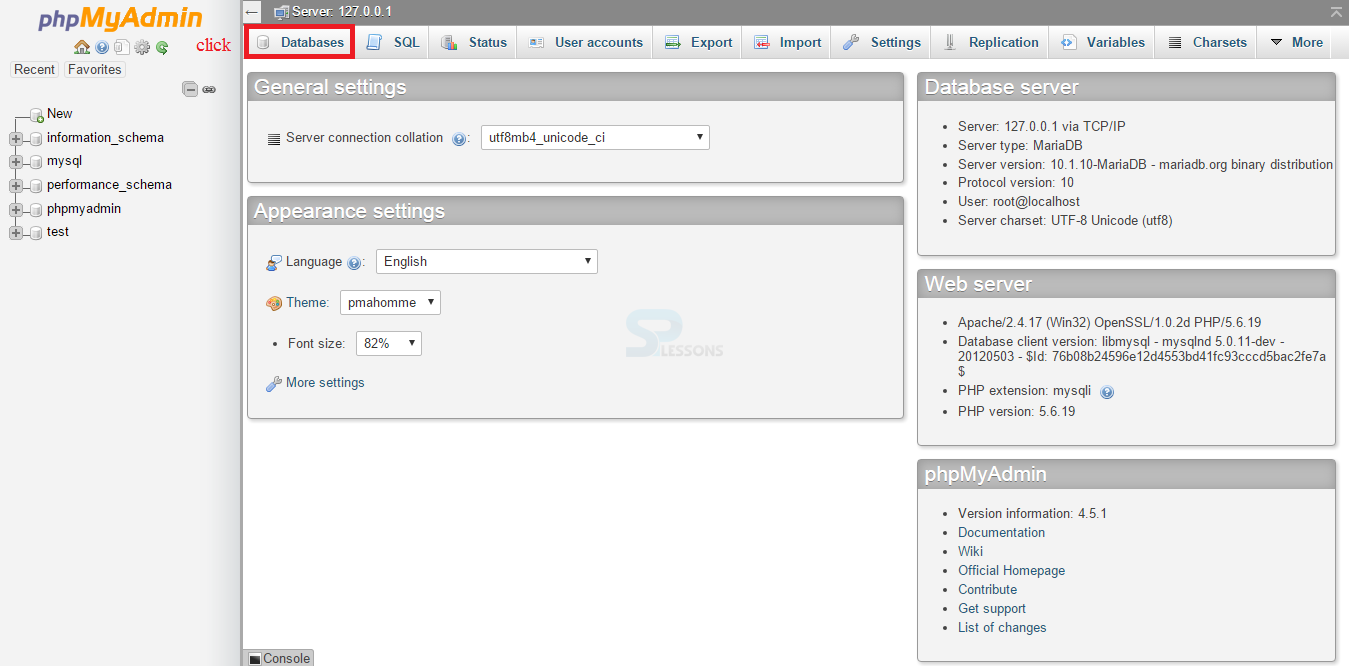
By clicking the option phpMyAdmin, a page appears where the user can create database by clicking the Database button on the top of the page as shown in the image below.
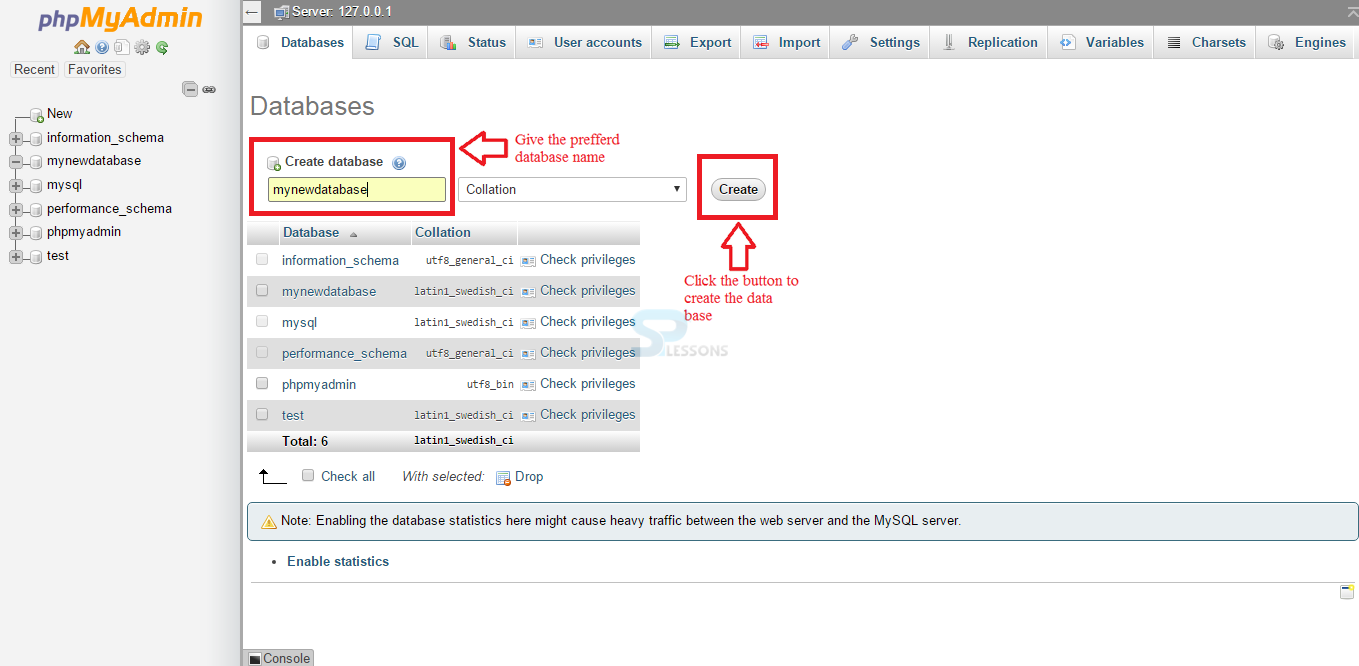
 Give the preferred name for the database and click the button create as shown in the image below.
Step 3
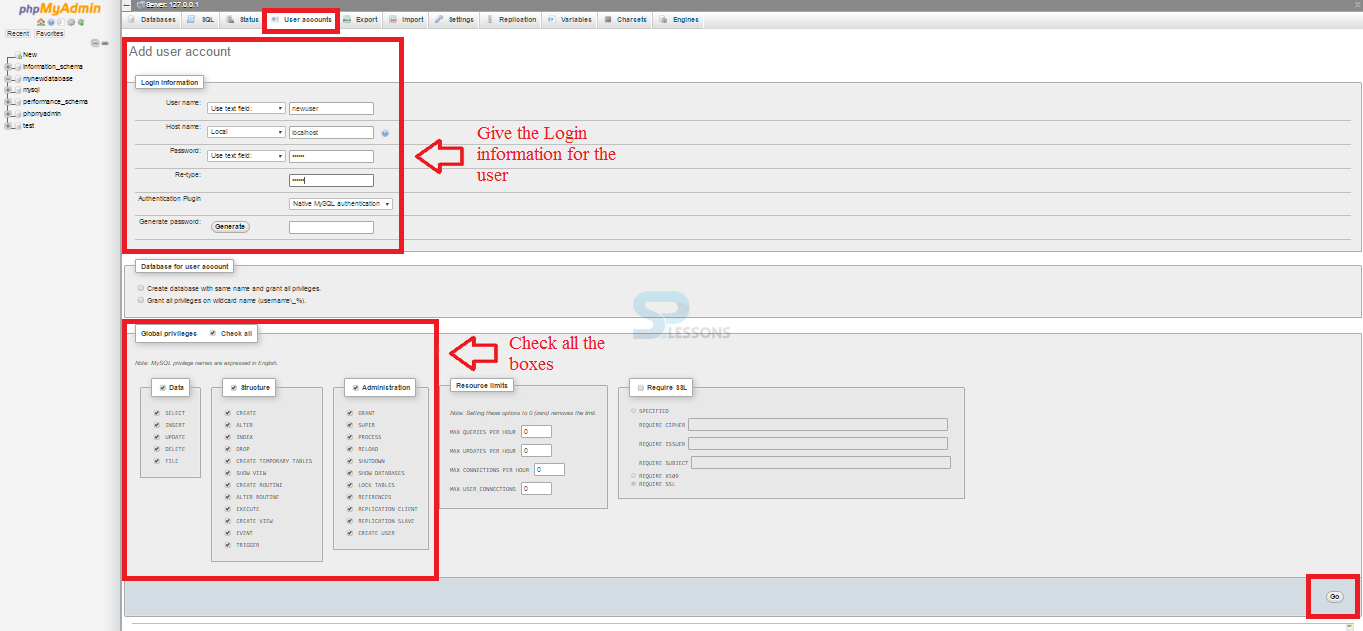
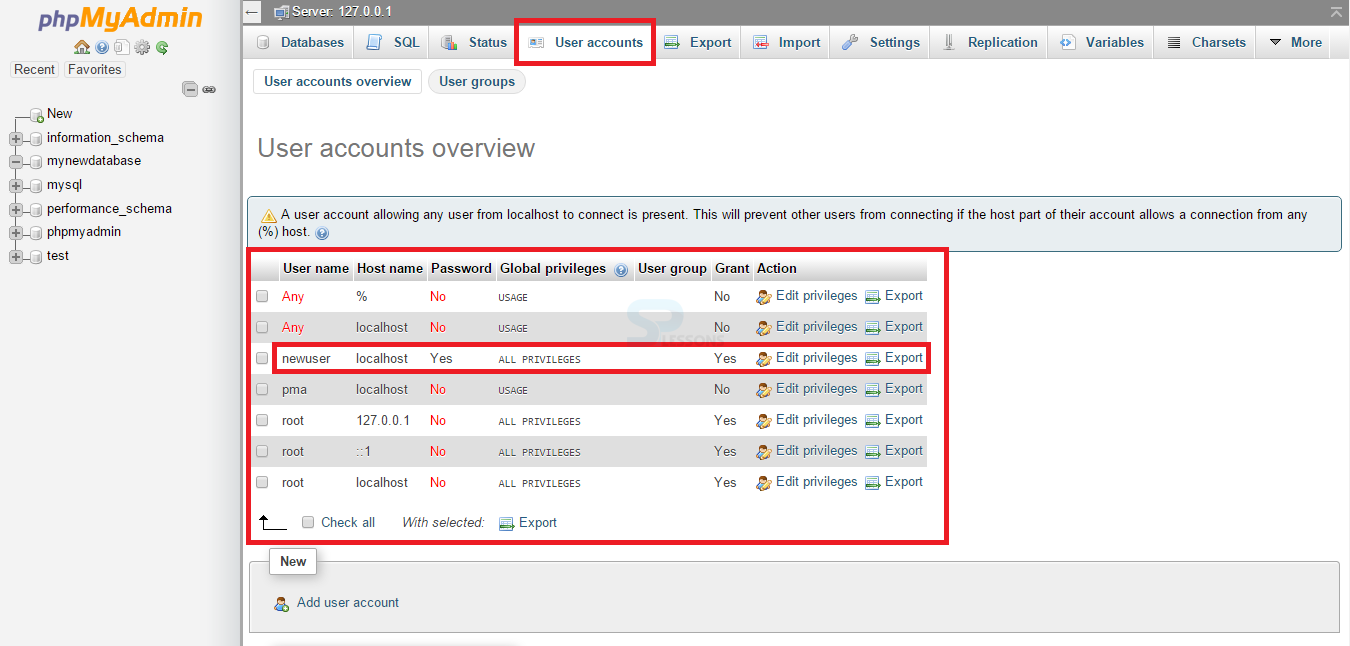
To add a new user, go back to the phpMyAdmin page and click User accounts option present on the top of the page. A page containing some pre-installed users and some options for creating or removing the users will appear. By clicking the option Add user account, a page containing some options like user name, password will appear. Give the preferred user name and password as shown in the image below.
 The image below shows the added user that is not allocated to the database.
Step 4
To allocate a new user, go back to the created data base and click the option called privileges. By clicking, a page containing the users in that data base will appear. Even clients can create a new user by clicking the Add user account option as shown in the image below.
 This is how a user can create a database to set the WordPress configuration.
Description
Now, open a new tab in browser and go to the following path
localhost/<your_wordpress_foldername>
The above path navigates you to a page where you can create WordPress. The steps below demonstrate the procedure of WordPress installation.
Step 1
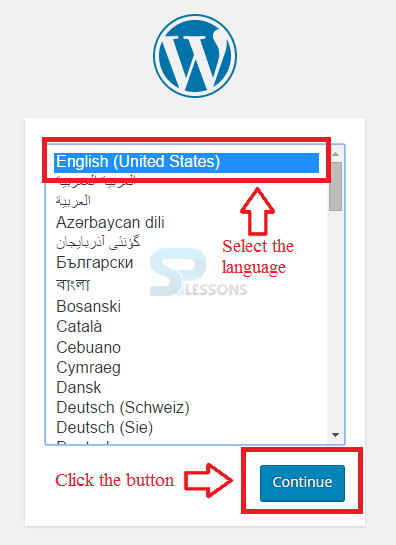
Select the preferred language and proceed by clicking the button continue as shown in the below image.
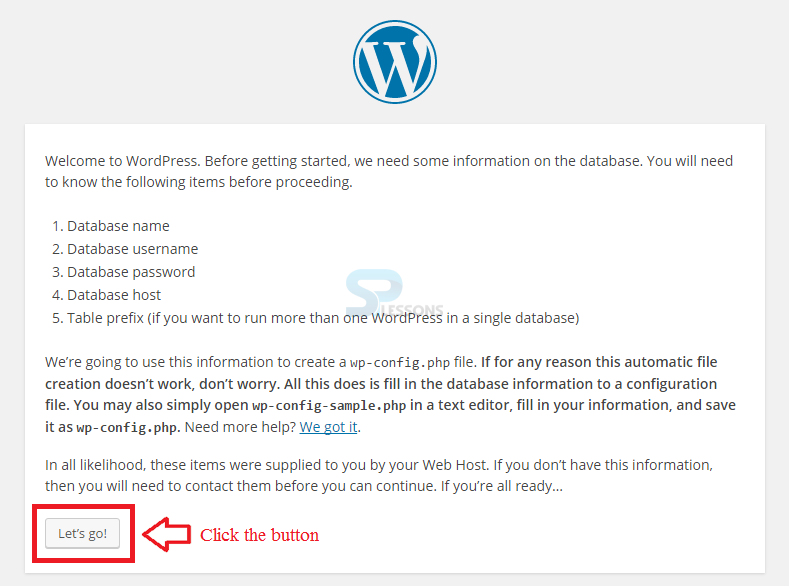
Step 2
Now, the page gives the information about the requirements for creating WordPress. Make sure to check all the requirements before proceeding as shown in the below image.
Step 3
The page have some options for connecting database. Enter the details like
By default, the database host is local host and the Table Prefix value will be wp_. After entering the all the details, click the button Submit as shown in the below image.
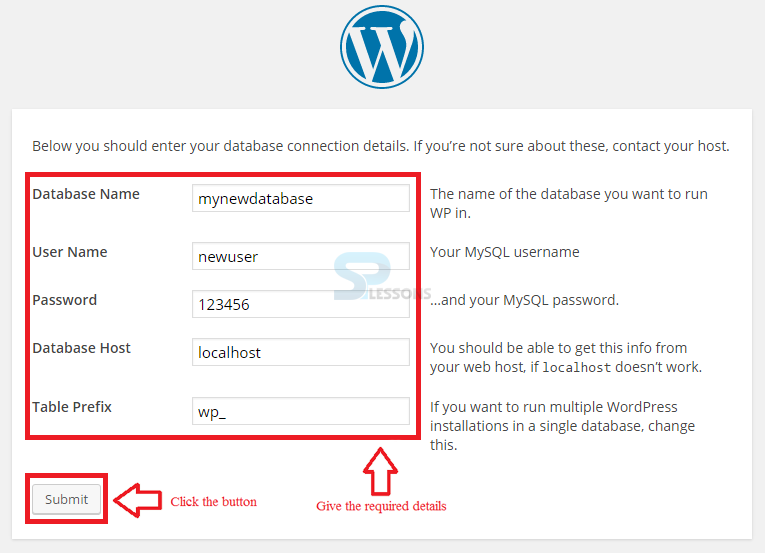
- database name
- username
- password
- Database Host
- Table prefix.
Step 4
Now, click the button Run the install to communicate WordPress with the database.

Step 5
The page now displays some options for administrative details as shown in the below image.
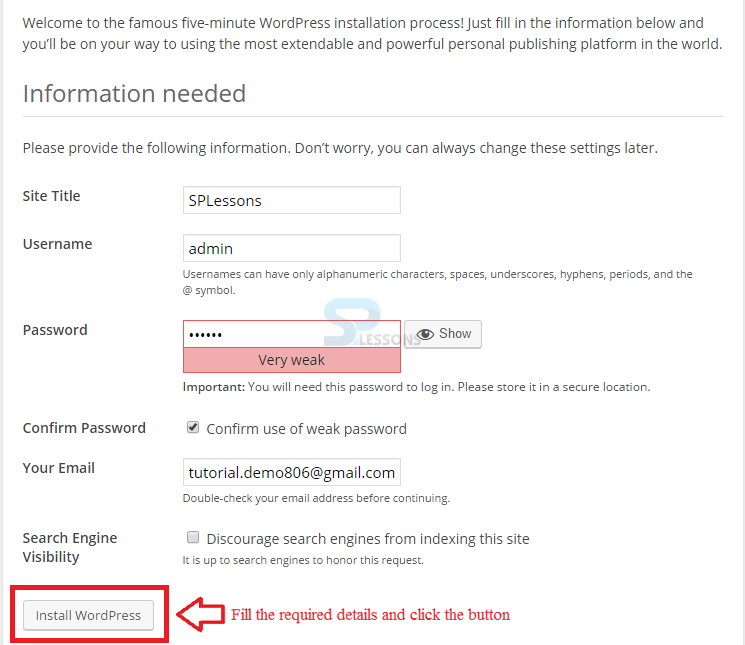 After providing the required details, click the button Install WordPress.
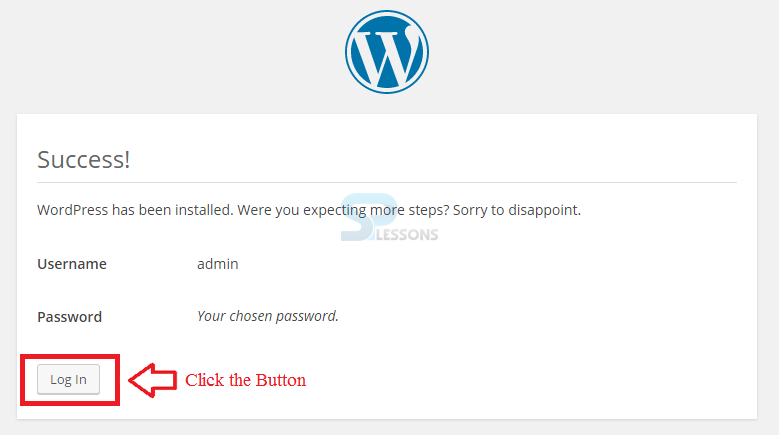
Step 6
Now, the page displays the Success screen as shown in the below image. The user name and password are added by default so proceed by clicking the Log In button.
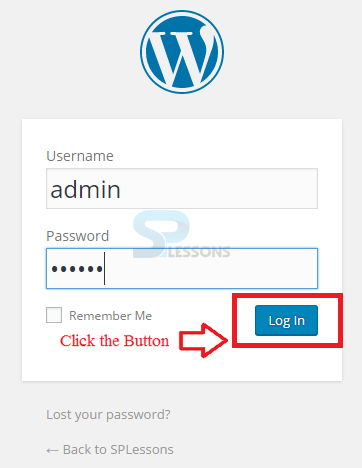
Step 7
After successful installation, the page gets displayed with the WordPress Admin Panel as shown below.
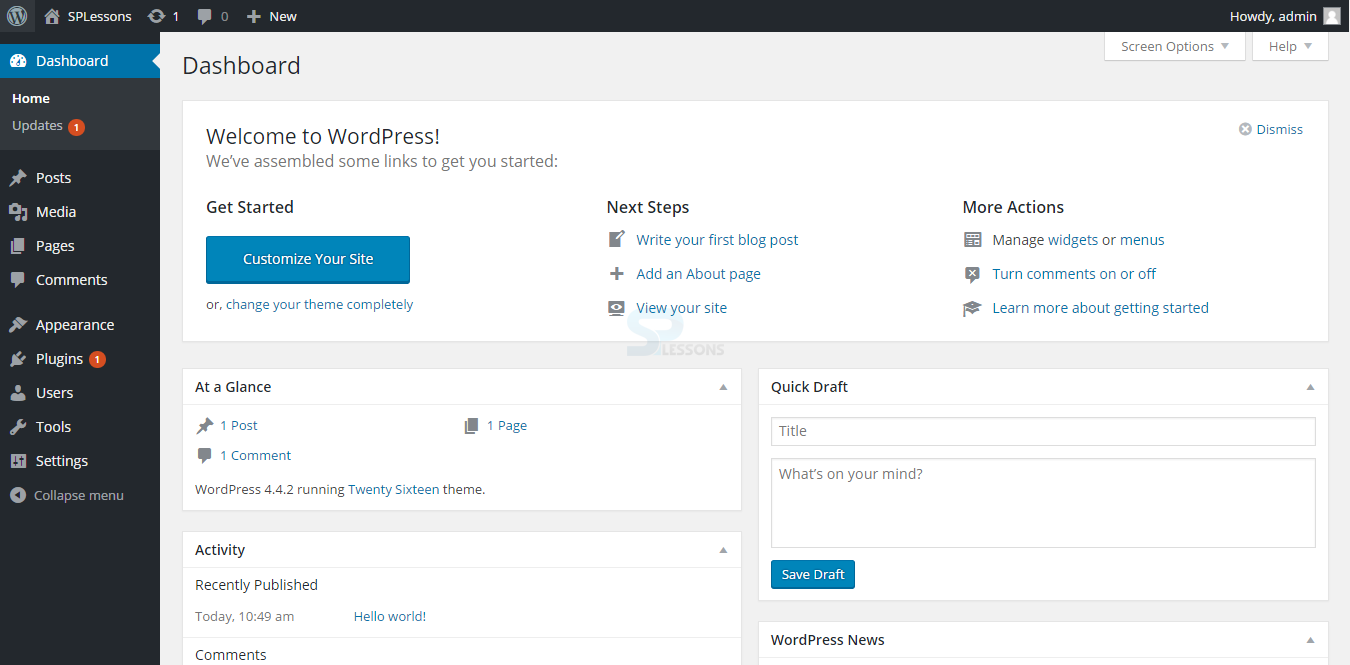
Step 8
After successful login, the page gets displayed with the WordPress Dashboard as shown in the below image.
Key Points
- WordPress is an open source Content Management System (CMS), which permits the clients to create dynamic sites and blog.
- In addition to XAMPP, there are many web servers for creating the database for WordPress like MAMP, LAMP and WAMP.
- WordPress supports all the web browsers.